
My travel photography has improved significantly over the past year, to the point that some of my works have actually been published!
With great results, I get a lot of questions from friends, family and readers about my process for taking photos. This post I want to share some practical tips for taking better travel photos, immediately.
First, let’s start with the ground rules: I am not going to share camera specific tips, because each camera is different. Instead, I am going to share tips that you can all use to take better photos right away.
If you want to become a better photographer, follow along, print out this post (or save it to Evernote) and use it for your next trip!
Stop acting like every other tourist!
1) Turn off any camera noise when taking photos
First order of business: I implore you to turn off the sound on your camera. That’s amatuer hour. No serious photographer wants to make a lot of noise.
If your friends or family members have sound on their cameras? Take their camera and turn off their noises too. Our ears thank you!
While you’re at it, make sure there is no datestamp on those photos. You can always add date stamps later!
2) Use grid lines on the camera to take straighter photos (but you can always fix later)
All digital cameras should have the ability for you to show gridlines on the screen while taking a picture. These gridlines are used to help you take straight photos.
If you don’t use gridlines? You will end up with photos like this one, which I took in Tokyo in 2005.
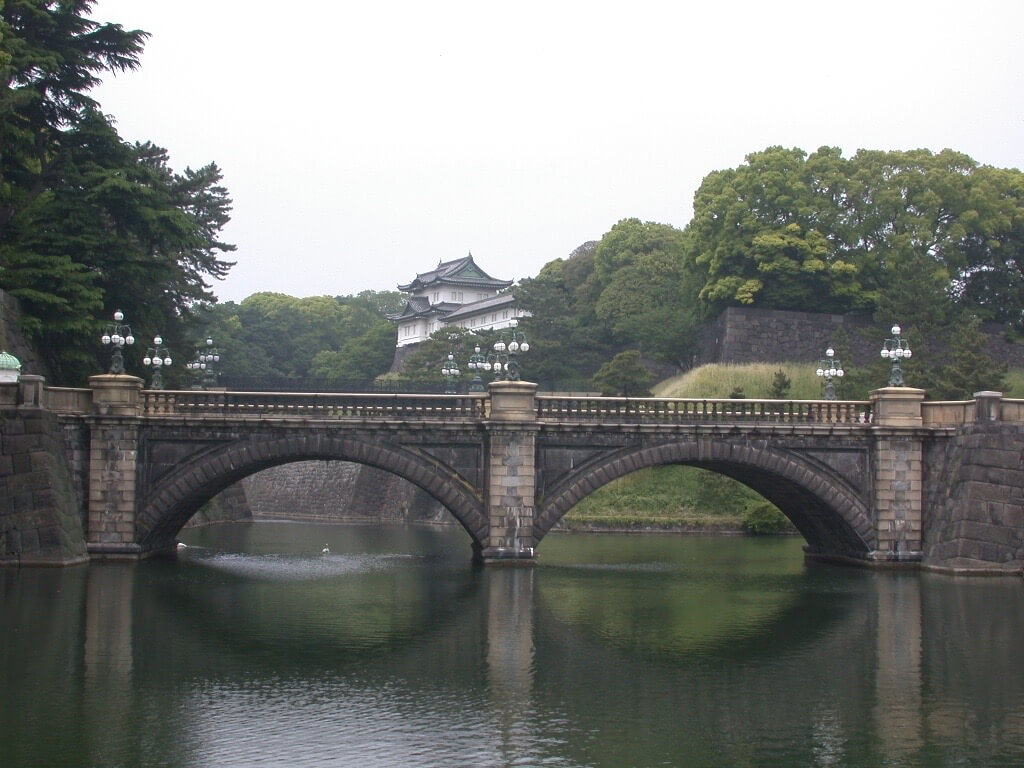
I genuinely thought that this was a good photo when I took it, but now I realize it’s not that great. And it all starts with a lack of straight horizontal lines. Of course, there are many problems with this photo (like what is the subject? Why am I showing so much tree? Why is the tree cut out? Why am I showing so much water), but it all starts with the framing of the image.
3) Shoot in RAW mode vs. JPG.
If your camera has the ability to shoot in RAW mode, do it. Even if you don’t know what RAW means, you should do it anyway.
Why? Because JPG (or JPEG) images are a form of compressed image. This means that not all of the information your camera sees will be captured in the image. Even worse, if you make edits to your compressed image? It starts to degrade the original quality of the photo.
With a RAW image, you can make changes to the uncompressed image and not experience that same degraded quality. Once you learn how to use RAW (using a tool like Adobe Lightroom, available for about $10/month), you will wish you had shot RAW photos all along.
Pay it forward to your future self, shoot in RAW mode.
4) Post Processing (i.e. Color correction and Editing) is 70% of why photos look good
Most photos coming out of the camera are far from spectacular. It is all about how you post process images. Dont’ believe me? Check out this photo of the Golden Gate Bridge.
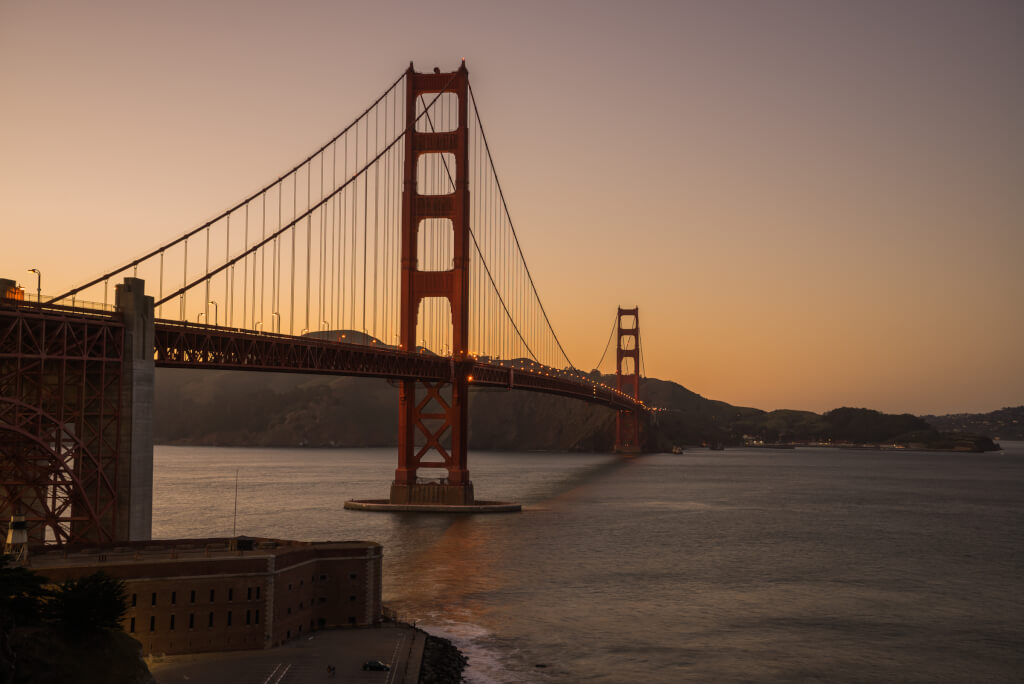
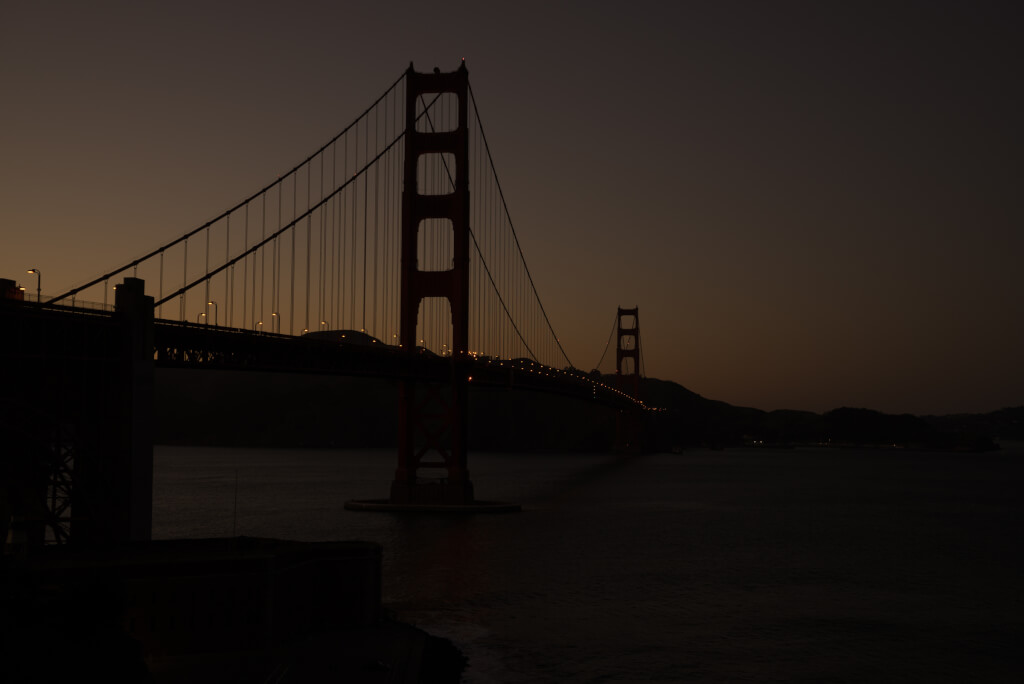
Individually, these images are nothing special. There are approximately 10,000 tourists a day taking photos that look exactly like this of the Golden Gate Bridge.
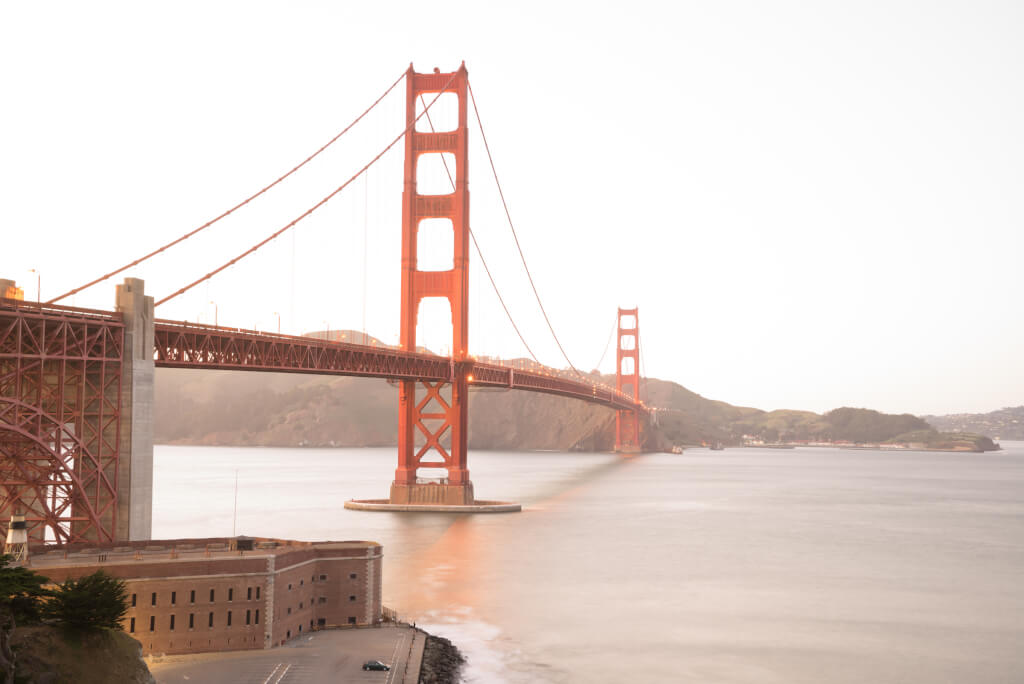
Combined? Well, you be the judge.
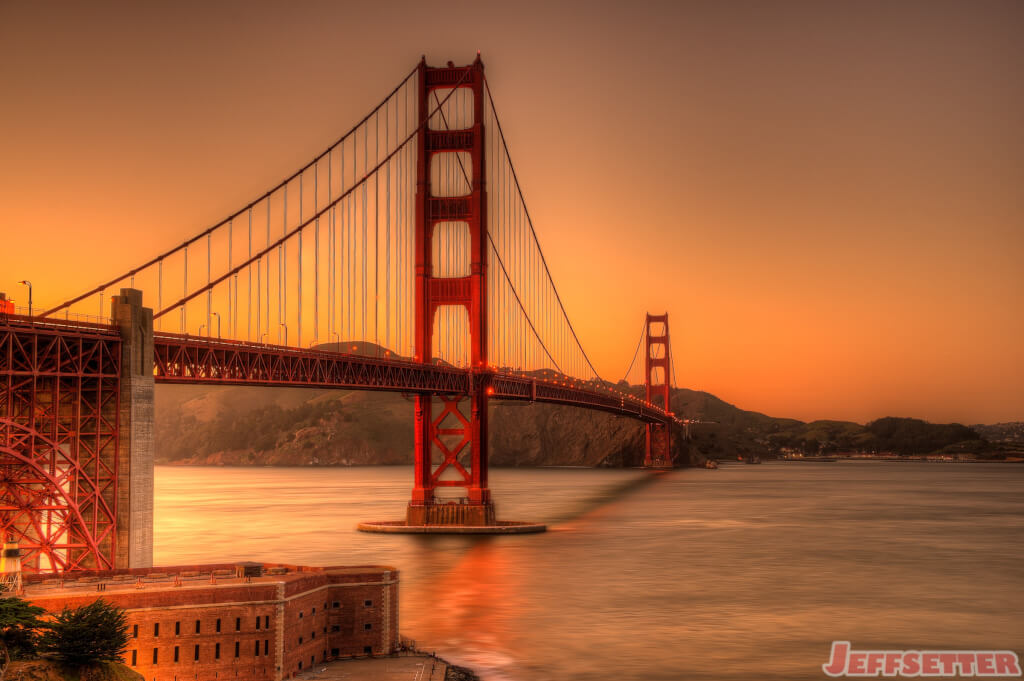
I will toot my own horn and say that this is a great photo. But it is only great because of how I post processed the image.
These three photos were combined in a tool called Photomatix, where I got to choose the lighting effects. Then I brought it into Lightroom and adjusted contrast on the photos and a few other settings. Then I smoothed the water using filters in Photoshop.
Yes, I manipulated the image. No, I don’t see anything wrong with it. The most important thing is how you feel at the end.
5) The other 30% is taking a sharp image of your subject
This may be over-simplifying, but taking sharp images is the other part of the equation to taking better photos. The easiest way to take a sharp image? Put your camera on a tripod and make sure the subject is in focus.
6) Get sharper images by using a tripod or something steady
No tripod? Don’t expect to have super sharp photos. It’s that simple. Sure, with ample light, you may have some quality photos using a handheld camera, but don’t count on it.
My best and sharpest photos were all taken on a tripod, and that’s not a coincidence.
At the very least consider getting a monopod. Then you can make sweet videos like this while waiting for the best light:
Understand your camera settings
7) Get sharper images by understanding your settings (aperture, shutter speed, iso).
All of those extra settings on your camera. What do they mean? I am learning as I go, too.
One thing I have started to do is use Aperture priority mode on my camera. This usually means spinning the dial to the A or Av mode. The best aperture for landscape photos is usually between f8 and f11. Aperture priority mode means that the camera will choose the appropriate shutter speed based on light available.
8) ISO is the reason why your images might look grainy. Low ISO = less grainy
Why do your night time photos look like crap when blown up? Because they were taken at a high ISO. High ISO = graininess in photos, especially at night.
To get sharp photos at night, you need to use a tripod. It’s that simple.
9) Always take 10x more photos than you think you need
This is an easy one. Memory is cheap, so take 10x as many photos as you think you will need. This costs you nothing, and can be the difference between decent photos and great photos.
10) Invest in lightroom (a program) to organize your photos
As I mentioned earlier, you can get Lightroom and Photoshop from Adobe for about $10/month. I bought this for Amanda with a discount from 500PX (an amazing photo site, btw).
The Destination matters too
11) Visit awesome places to have good subjects
This should go without saying, but travel photos are also enhanced by your destination. While there is natural beauty in most parts of the world, great subjects make photography more fun.
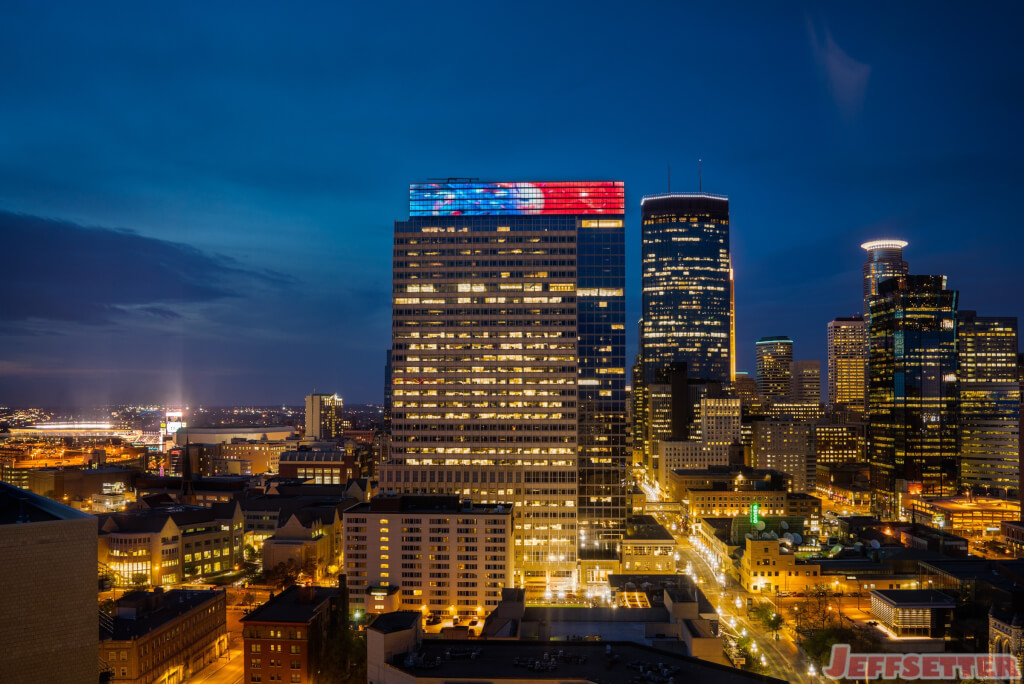
Then again, you can find beauty anywhere. I even found it in my hometown of Minneapolis on a recent business trip!
12) The best time to shoot is 1 hour before/after sunrise and 1 hour before/after sunset
Taking the best photos will often involve getting up early or staying up late.
13) Shooting in the middle of the day will often yield bad results
This is tough when you are traveling, but photos in the middle of the day with bright sun are often disappointing.
14) The histogram on your camera shows an image is too black (heavy left hand) or too white (heavy right hand side)
You don’t want the histogram to be too black or too white on your photos.
Here’s how you can get started today
If you want to get serious about taking better photos, I suggest you spend a weekend day just walking around and taking photos in your home city.
Walk through parks. Go to bodies of water. Keep an eye open and see what happens.
For each subject you see, take 5-10 photos and make notes of what you did. Try experimenting with ISO, aperture and hand held vs. tripod. You’ll start to see why images are flawed.
When you get back home, study the results. The immediate feedback loop will help you understand what you did right and what went wrong.
Do this enough times? You’ll be a better photographer and know what to do.
For me, the biggest revelation has been understanding why my images were flawed. Once I had understanding, I could work on a solution.