
After our recent trip to Las Vegas and California (more to come!), Mrs. Island Miler and I were quarantined at a hotel in Waikiki. Towards the end of our self-imposed quarantine, we took an InteliSwab Rapid Antigen COVID-19 Test to ensure we didn’t bring an unwanted visitor back with us.
Like many in Hawaii, Mrs. Island Miler and I live in a multigenerational home. So, to protect our other household members, we stayed in a Waikiki hotel for a few days after returning from our trip to Las Vegas and California – trip report coming soon! Of course, what good is quarantining if we don’t get tested, right? Well, we eventually got tested twice. The first test was an at-home InteliSwab Rapid Antigen COVID-19 test. The second test was a drive-thru PCR test provided by the City & County of Honolulu. Both tests came back negative, but I want to talk about our at-home test experience.
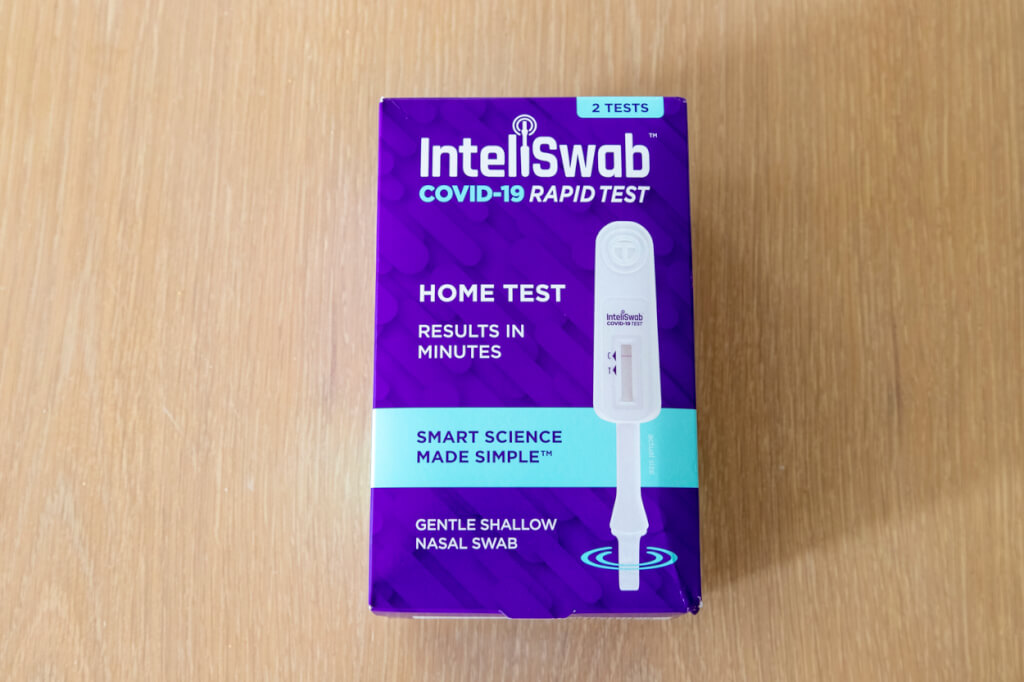
InteliSwab Rapid Antigen COVID-19 Test
I actually didn’t have to take two tests – the one PCR test would’ve been sufficient. However, I wanted to give myself some time to book another room if we did get infected by some off chance. At-home tests, unfortunately, aren’t the easiest thing to find. So, on our last day in Los Angeles, I took a look at the Walgreens in Inglewood and saw that they had some in stock. So, I decided to pick up a test kit and bring it back home with us.
Cost
Walgreens sells a few different at-home tests, the InteliSwab Rapid Antigen COVID-19 Test, the Abbott BinaxNOW, and Quidel QuickVue. All of these tests cost about $24 before tax, and all have an emergency use authorization from the FDA, and I believe all of these kits come with two tests each. I wanted to get the Abbott BinaxNOW test because I recognized the name, and it’s faster, but the InteliSwab is what we could get our hands-on.
First Impressions
The one thing you’ll notice IMMEDIATELY is that the InteliSwab rapid at-home test looks like a damn pregnancy test. Well, a weird one, anyway.
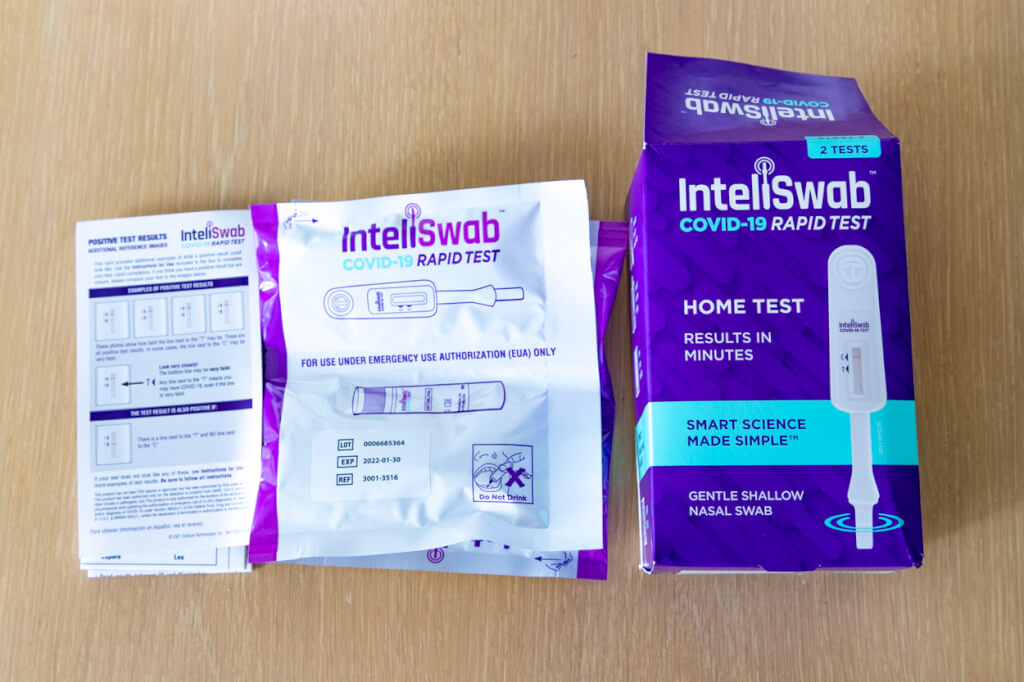
Inside the box, you’ll find four foil pouches containing the actual test strips, two vials of test solution, and a stand. Unfortunately, the stand can hold only one test at a time, so you can only administer one test at a time. That’s a shame, given how long it takes to get your results.
Taking the Test
To take the test, you need to first open the vial pouch, insert the vile into the stand, and carefully uncap the vial. Then, blow your nose (but don’t put tissue into your nose) and take the test strip out, holding it by the plastic holder. To collect your sample, you twirl it around your nostril 15 times and then repeat it in the other nostril. It’s crucial to ensure the test strip maintains contact with the skin in your nostril the whole time, which can be a little tricky. But at least the test strip is short, so it doesn’t go that far up your nose.
Once you collect your sample, you then put the test strip into the very shallow pool of liquid in the bottom of the vile and mix it 10 times. After mixing, you then leave the test strip in the vial for 30 minutes to develop. Once the 30 minutes are up, you have 10 minutes to read your results before they become void.

Final Thoughts
Admittedly, the InteliSwab test’s instructions are a bit daunting. This thing could be simpler to use. But I get it. All of this stuff is still very new in the grand scheme of things. The fact that we even have all of these options available to us right now is astounding, isn’t it?
At any rate, this being a rapid antigen test, meaning there’s a significant chance you’ll get a false positive or negative. If you suspect an actual infection, you should follow up with a PCR test, if possible. In our case, we both tested using the same kit, and both got negatives. So I was reasonably confident it was accurate. Regardless, per my return-to-work requirements, I did obtain a PCR test a couple of days later, which also came back negative. The purpose of this test, for me anyway, was to know whether or not I needed to seek out additional hotel nights for quarantine. Thankfully, that ended up being unnecessary.