
All of our reviews are based on exhaustive research, industry experience and whenever possible, hands-on testing. When you make a purchase using one of our chosen links we’ll get a small percentage of the proceeds. This supports the site and keeps Jeffsetter running. You can read more here.
Keeping your RV cover in the best shape possible is important to provide your RV with the protection it needs when being stored outside. If your RV cover rips, you might be left wondering what you did wrong or how you can prevent the same thing from happening again.
So, how do you keep an RV cover from ripping?
To keep an RV cover from ripping, make sure the material is high quality, the cover is tight on both sides, protective straps are used and any potential sharp points on the RV have been covered. Using a breathable cover will help prevent mold, which will keep the fabric stronger for longer.
We’ve put together a list of tips and tricks for preventing rips while using your RV cover. It’s always best to do things right the first time, so by putting these tips into action, you can feel confident your RV and your RV cover will make it through the season, damage free.
How Do You Keep an RV Cover From Ripping?
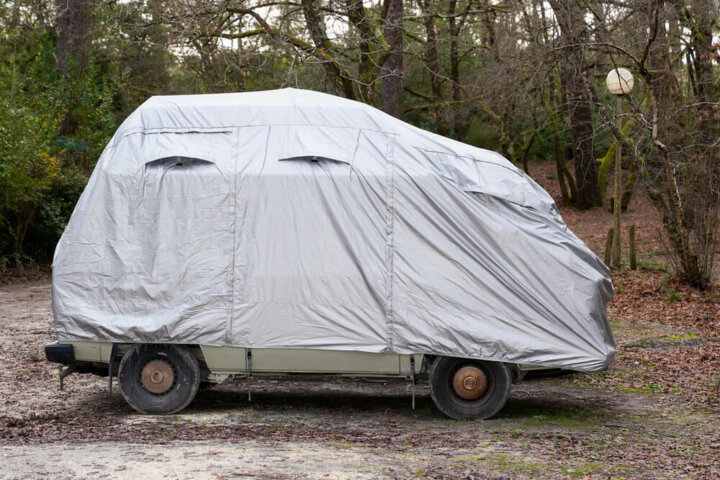
RV covers offer fantastic protection from harsh weather conditions and even debris that winter winds might kick up on your rig. Usually made from polypropylene, RV covers are durable, water-resistant, and strong enough to give your RV the best chance of making it through winter without a scratch.
Tip 1: Cover Any Sharp Points
An RV is full of sharp edges and corners that can easily pierce and tear an RV cover. To stop this from happening, any sharp points need to be covered with suitable foam and tape, creating a soft surface for the RV cover.
This includes covering things like steps, awnings, and slide-outs. Make sure vents are closed and locked too, as they can also rip an RV cover if the material gets caught.
Tennis balls can be useful to help block pipe ends and can be cut and made to fit on particularly sharp corners too. Foam can also be a useful material to use for edges on the RV that can rip an RV cover in next to no time.
The process of covering up all of the sharp points can take a while, but it will save you money and time in the long run, as you won’t have to grab another RV cover to replace a ripped one!
Tip 2: Use a High-Quality Cover
Not all RV covers are created equal, and unfortunately, sticking to cheap, poorly constructed covers, may result in you buying a new one next season. RV covers need to be robust to protect your camper from the weather, but if the cover isn’t made to last, it could rip before you’ve even managed to put it on your RV!
When you cover your RV for winter, the last thing you want is a small rip to let in any rain or snow as this moisture can eventually lead to mold. To avoid this, it’s best to choose a high-quality cover and regularly check to see if it needs any cleaning, or if straps need tightening.
Tip 3: Add Protection Straps
If you’re like me and want to do things right the first time, adding protection straps over your RV cover is a fantastic idea and offers even more protection for your RV. Additional strapping will help the cover stay on the RV, even in the windiest conditions.
Furthermore, the straps will help the RV cover stay tight on the RV, lowering the risk of the cover being blown off in high winds and being damaged. The straps may need adjusting if they get a little loose in bad weather, so it’s best to check on them once in a while and tighten them if needed.
Tip 4: Let the Cover Breathe
Letting your RV cover breathe is a simple way to help prolong the life of your cover and prevent the material from weakening and eventually ripping.
If any water gets on the inside of the cover, take it off the RV, clean it and allow it to completely dry as mold thrives in high moisture conditions. If cleaned thoroughly enough, the mold shouldn’t return, although it’s worth double-checking the entire RV cover for rips and holes, just in case there’s another place moisture can creep in.
Tip 5: Choose the Correct Size Cover
I think we’ve all gone ahead and rushed to purchase something for our RV without measuring once or twice! Trust me, though, when it comes to an RV cover you don’t want to do this as choosing the right size cover is essential.
A cover that’s too small won’t protect the whole RV and may leave areas exposed, and an RV cover that’s too big can let the wind blow up underneath it and potentially pull and rip the fabric.
Each make and model of RV will need a cover specific to them, so it’s important to choose the best cover for your RV if you’ll be storing it outside this winter.
How Do You Fix a Ripped RV Cover?
When an RV cover rips, it can be frustrating to know what to do next. If the rip isn’t detrimental to the cover, there are a few potential fixes that are worth trying before you head out to buy another one.
Sew on a Patch
Although sewing a patch over the damaged part of the RV cover is time-consuming, it’s an effective method if done correctly. One of the key things to remember when machine sewing a patch onto your RV cover is to not pull the material too tight as this could make the rip worse and tear more fabric.
Iron on a Patch
Ironing on patches can be a useful quick fix for a ripped RV cover if the damaged area is relatively small. For bigger tears, it’s worth choosing a method like sewing that’s both stronger and long-lasting. Make sure to iron on water-resistant patches to keep the cover protected from the rain.
Seal with Glue
If the rip on the cover isn’t too big, using glue or an adhesive patch kit can be a quick method to fix it. It’s essential to use glue that will work on the RV cover fabric and hold well enough to get you through the rest of the season.
Many people prefer to keep the glue method for absolute emergencies, as other methods like sewing or taping the RV cover tend to work a bit better.
Use Tape
Taping up a ripped RV cover is one of the most popular methods as it’s cheap and can be very effective. As long as the tape is strong, durable, and waterproof, it should do the job perfectly. It’s best to tape on both sides of the rip in the cover to make it as watertight as possible.
This video gives the step by step for using adhesive patches to fix ripped areas on an RV cover. The process is quick and simple and it is a great repair idea if you need to get your cover fixed up fast before the winter days roll in!
It’s always best to be prepared for the curveballs different seasons can throw at you and you’re RV. By taking precautions, you can help prevent your RV cover from ripping and save the hassle of repairing tears.
Closing Thoughts
If you’re storing your RV outside this winter, an RV cover is a great addition to shelter and protect your RV, keeping it in great condition for the next camping season. As RV covers can be susceptible to ripping, it’s important to prepare your RV first to avoid holes and tears further down the line.
My biggest piece of advice would be to make this process part of your winterization routine when storing your RV in a garage isn’t an option. By taking all the steps necessary and purchasing a high-quality RV cover, you can get ahead of the winter season and have your RV protected before the snow comes in!